


Device Wizard
Find Devices That Fit Your Needs
Resetting your Android device can be a useful troubleshooting step, whether you want to start fresh, resolve software issues, or prepare your device for resale. However, it's essential to understand the process and potential consequences before proceeding. In this blog post, we will provide you with a step-by-step guide on how to reset your Android device safely and effectively. Keep in mind that the exact menu names and options might vary slightly depending on your Android version (e.g., Android 14, Android 15) and device manufacturer (Samsung, Google Pixel, etc.).
Before resetting your Android device, it's crucial to back up your data to prevent any loss of important information. Android offers built-in backup solutions through Google One, which can automatically back up your apps, photos, videos, SMS messages, call history, device settings, and more. Ensure that your Google account's backup settings are enabled and that a recent backup has been completed. You can also connect your device to a computer and transfer files manually or utilize other cloud storage services like Dropbox or OneDrive. Remember to save contacts, photos, videos, documents, and any other data you want to retain.
If your Android device supports external storage, such as a microSD card, it's advisable to encrypt it and remove it before the reset. To encrypt, navigate to Settings > Security > Encryption & credentials > Encrypt phone storage (the exact path might vary). After encryption, power off your device and physically remove the SD card. This ensures that your data remains secure and allows you to use the SD card with your device or another device in the future. On some newer Android versions, the option to encrypt external storage might be integrated differently or might not be available if the device focuses on internal storage security.
To ensure a smooth reset process and prevent Factory Reset Protection (FRP) lock issues (especially important when reselling), disconnect your Google and other accounts from the device. Navigate to the Settings menu, select Accounts, and remove each account associated with the device.
Additionally, disable any screen locks you have in place, such as PINs, patterns, passwords, fingerprints, or face recognition. You can usually find these options under Settings > Security (or Security & privacy on newer versions) > Screen lock. While FRP is designed to prevent unauthorized use after a reset, removing accounts beforehand helps streamline the process for legitimate users.
The reset process may vary slightly depending on the Android version and device manufacturer. However, the general steps are as follows:
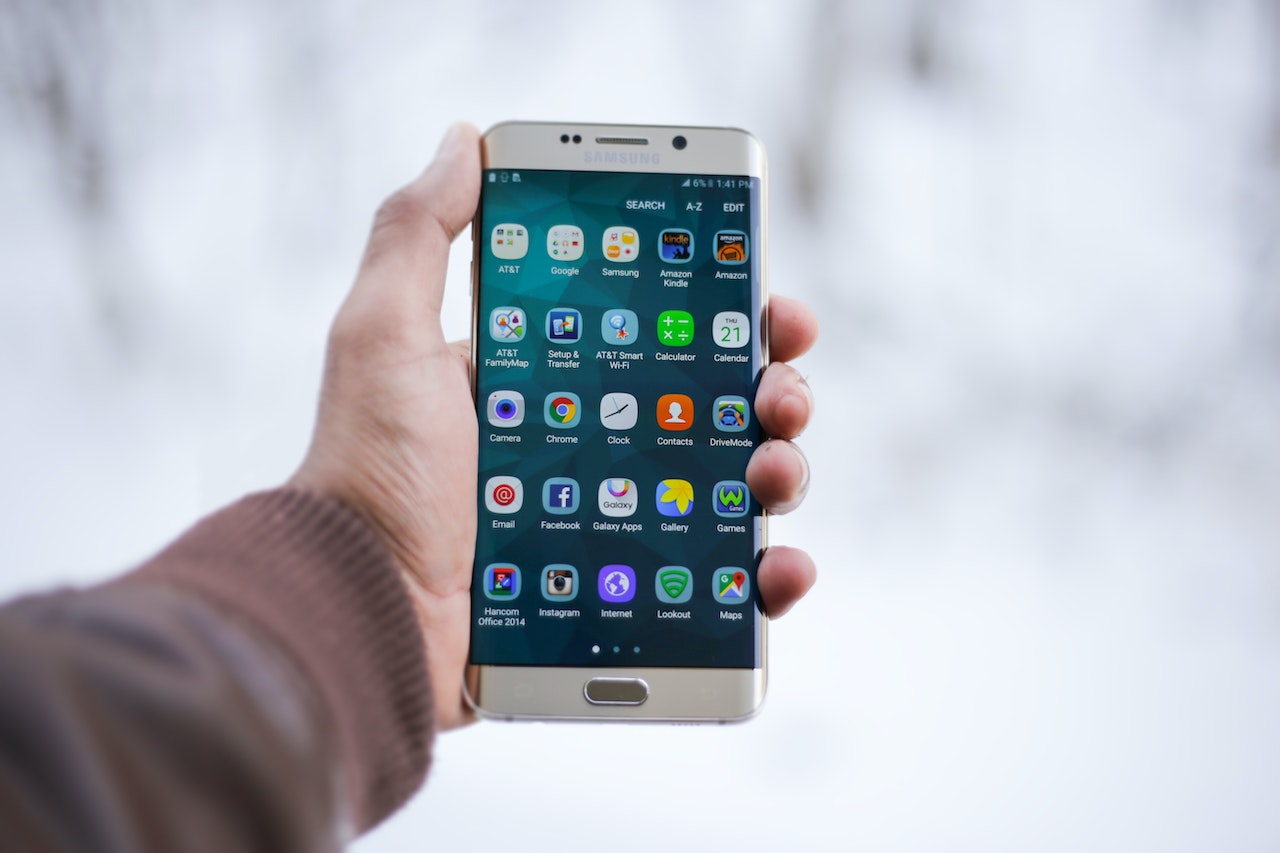
Open the Settings app on your Android device.
Scroll down and look for options like System, General management, or About phone.
Tap on Reset options.
Choose the option to Erase all data (factory reset) or Factory data reset.
Read the warnings carefully, as this action will permanently delete your data, and confirm your selection.
You may be asked to enter your device's PIN, pattern, or password to proceed.

Once you confirm the reset, your Android device will begin the process. It will erase all data, settings, and installed apps, restoring the device to its factory default state. This may take a few minutes, so be patient and avoid interrupting the process. Newer Android versions often show a progress bar during the reset.
After the reset, your device will reboot and prompt you to go through the initial setup, similar to when you first purchased it. Follow the on-screen instructions to set up your preferred language, Wi-Fi connection, Google account, and other necessary configurations.
Once you have completed the initial setup, it's time to restore your data and reinstall apps. If you backed up your data to Google One, sign in to your Google account, and you will typically be prompted to restore from a previous backup during the setup process. You can choose which data categories to restore. Alternatively, manually transfer your files from the computer or external storage back to your device.
To reinstall apps, access the Google Play Store, search for the apps you need, and reinstall them one by one. Take this opportunity to review your installed apps and only reinstall those that are essential. Consider exploring new and updated apps relevant to your needs.
Resetting your Android device can help resolve issues, enhance performance, or prepare for a fresh start. By following this step-by-step guide, you can safely reset your Android device without losing your valuable data (if you back it up!). Remember to back up your data, remove external storage, disconnect accounts, initiate the reset, and restore your data and apps after the process is complete. With a reset device, you can enjoy a clean slate and optimal performance on your refurbished phone or other Android device.


